How to Host an Ice Cream Social
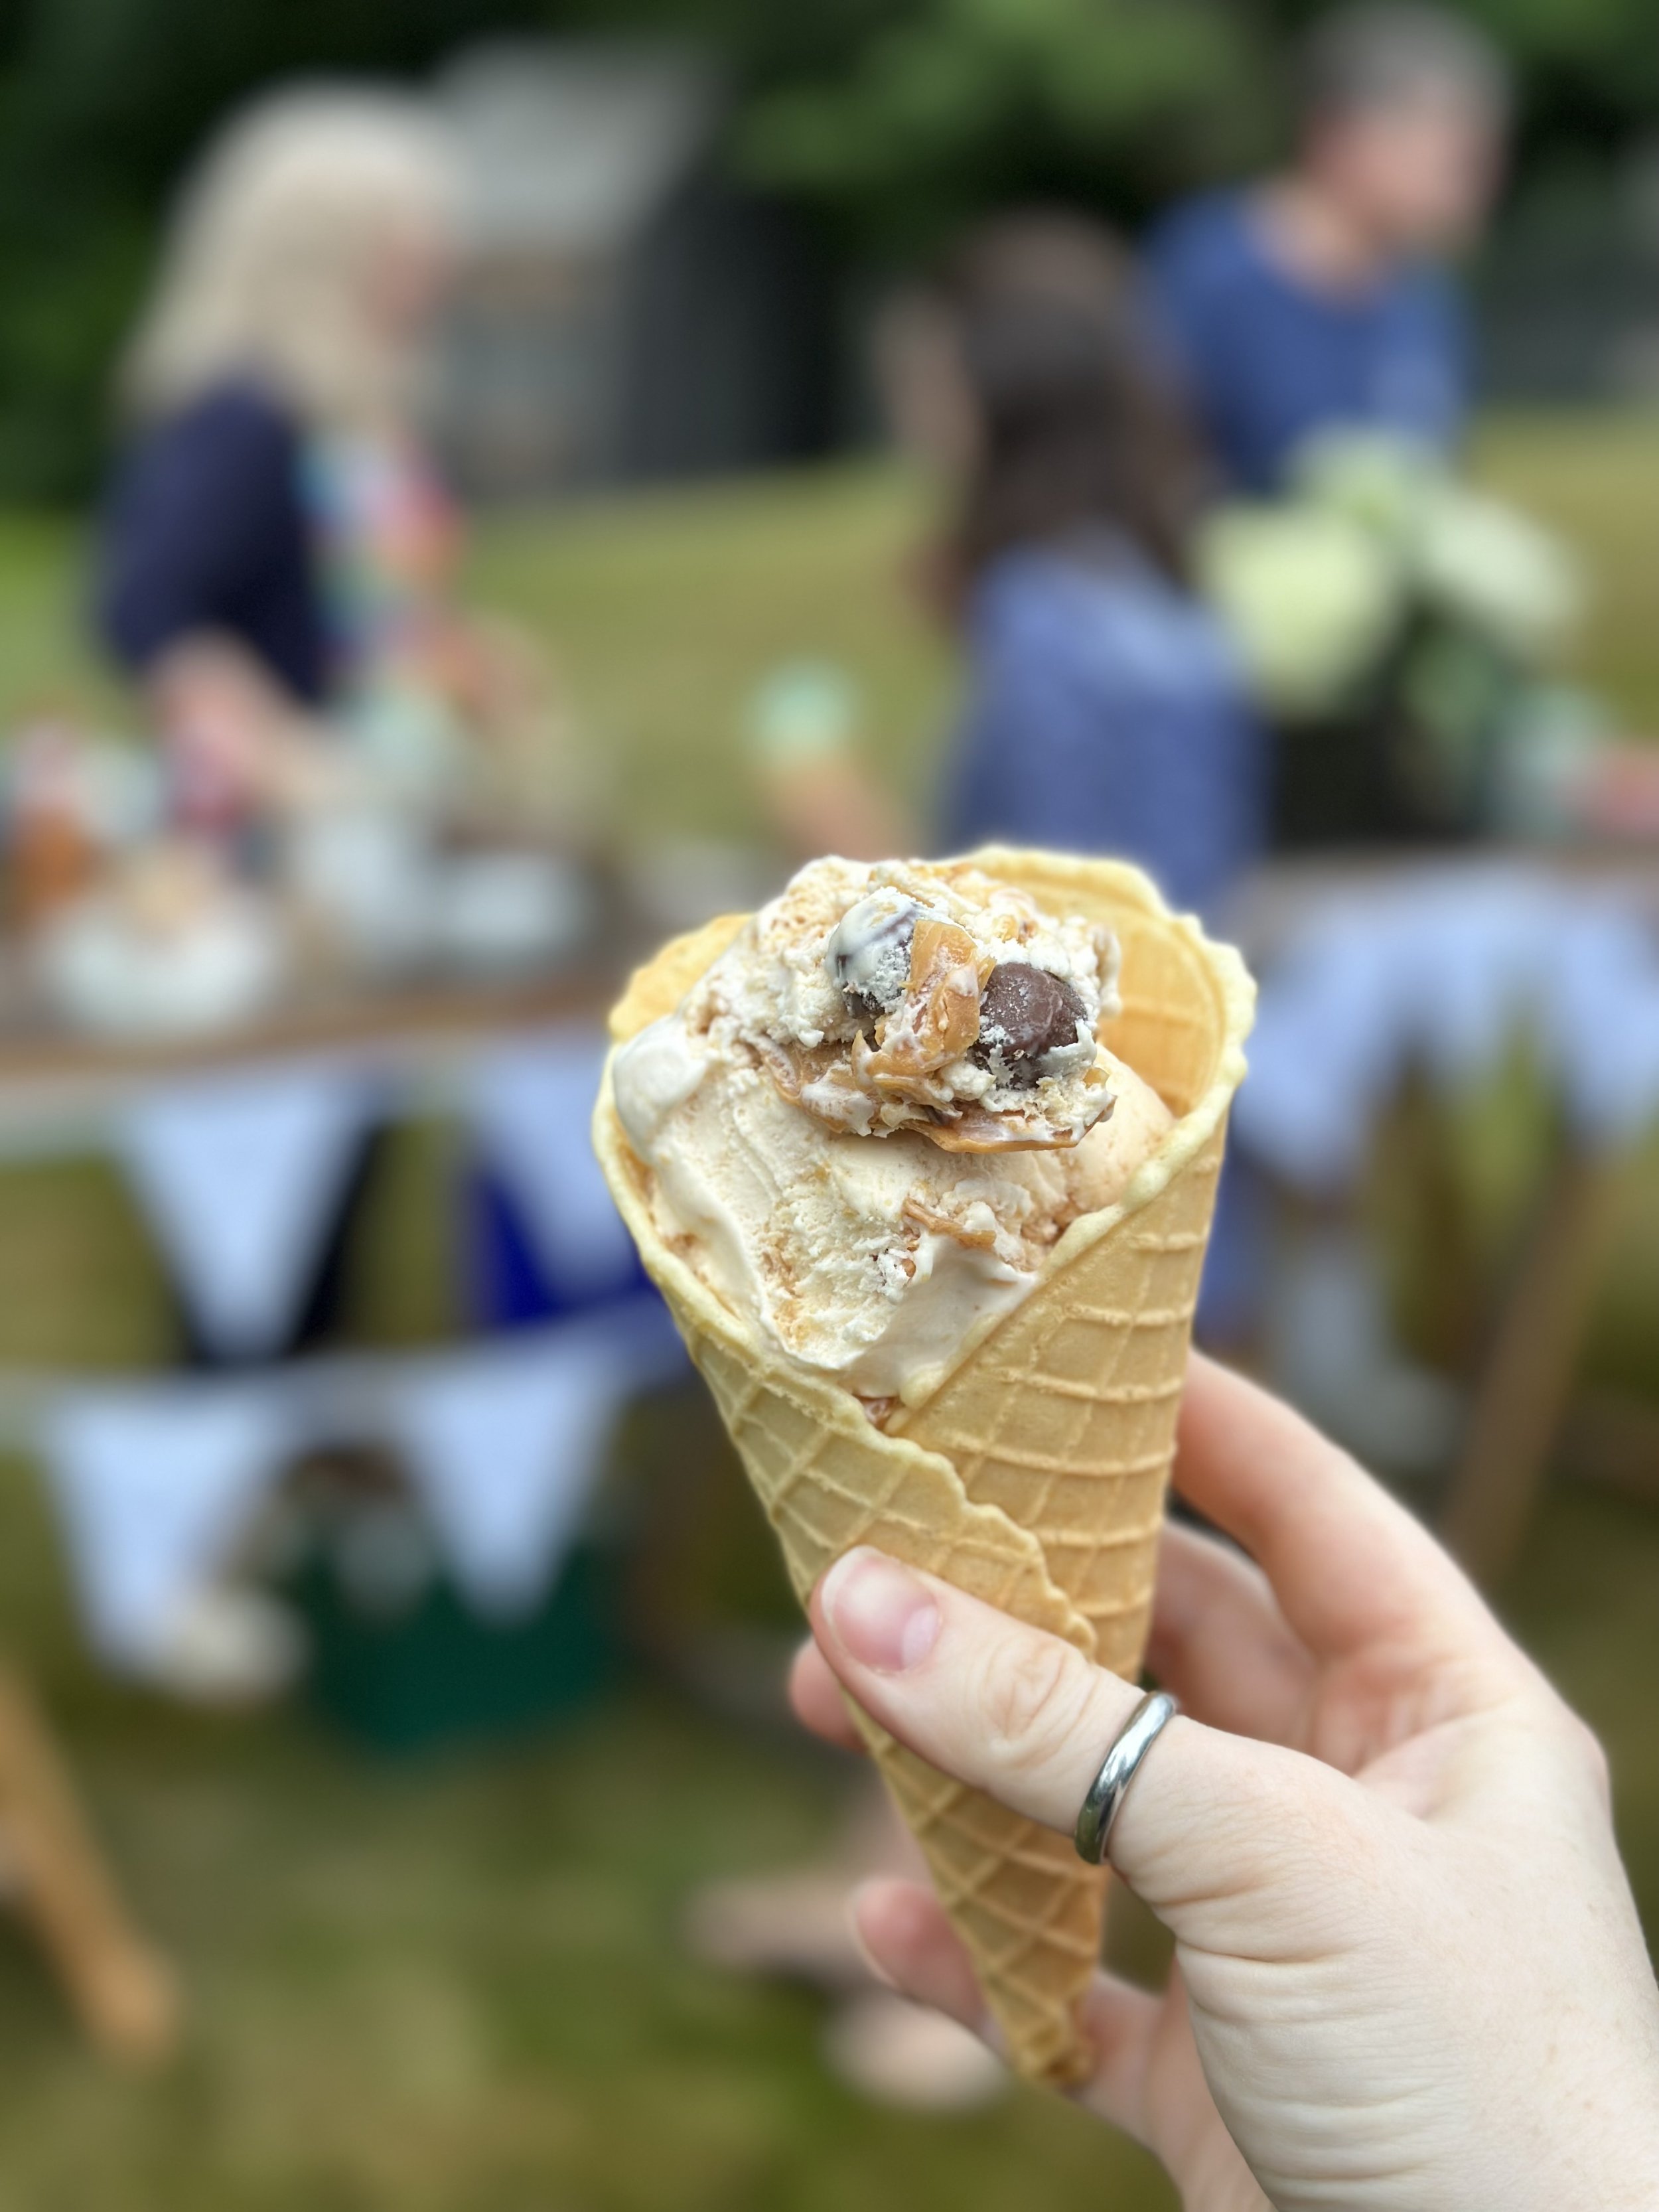
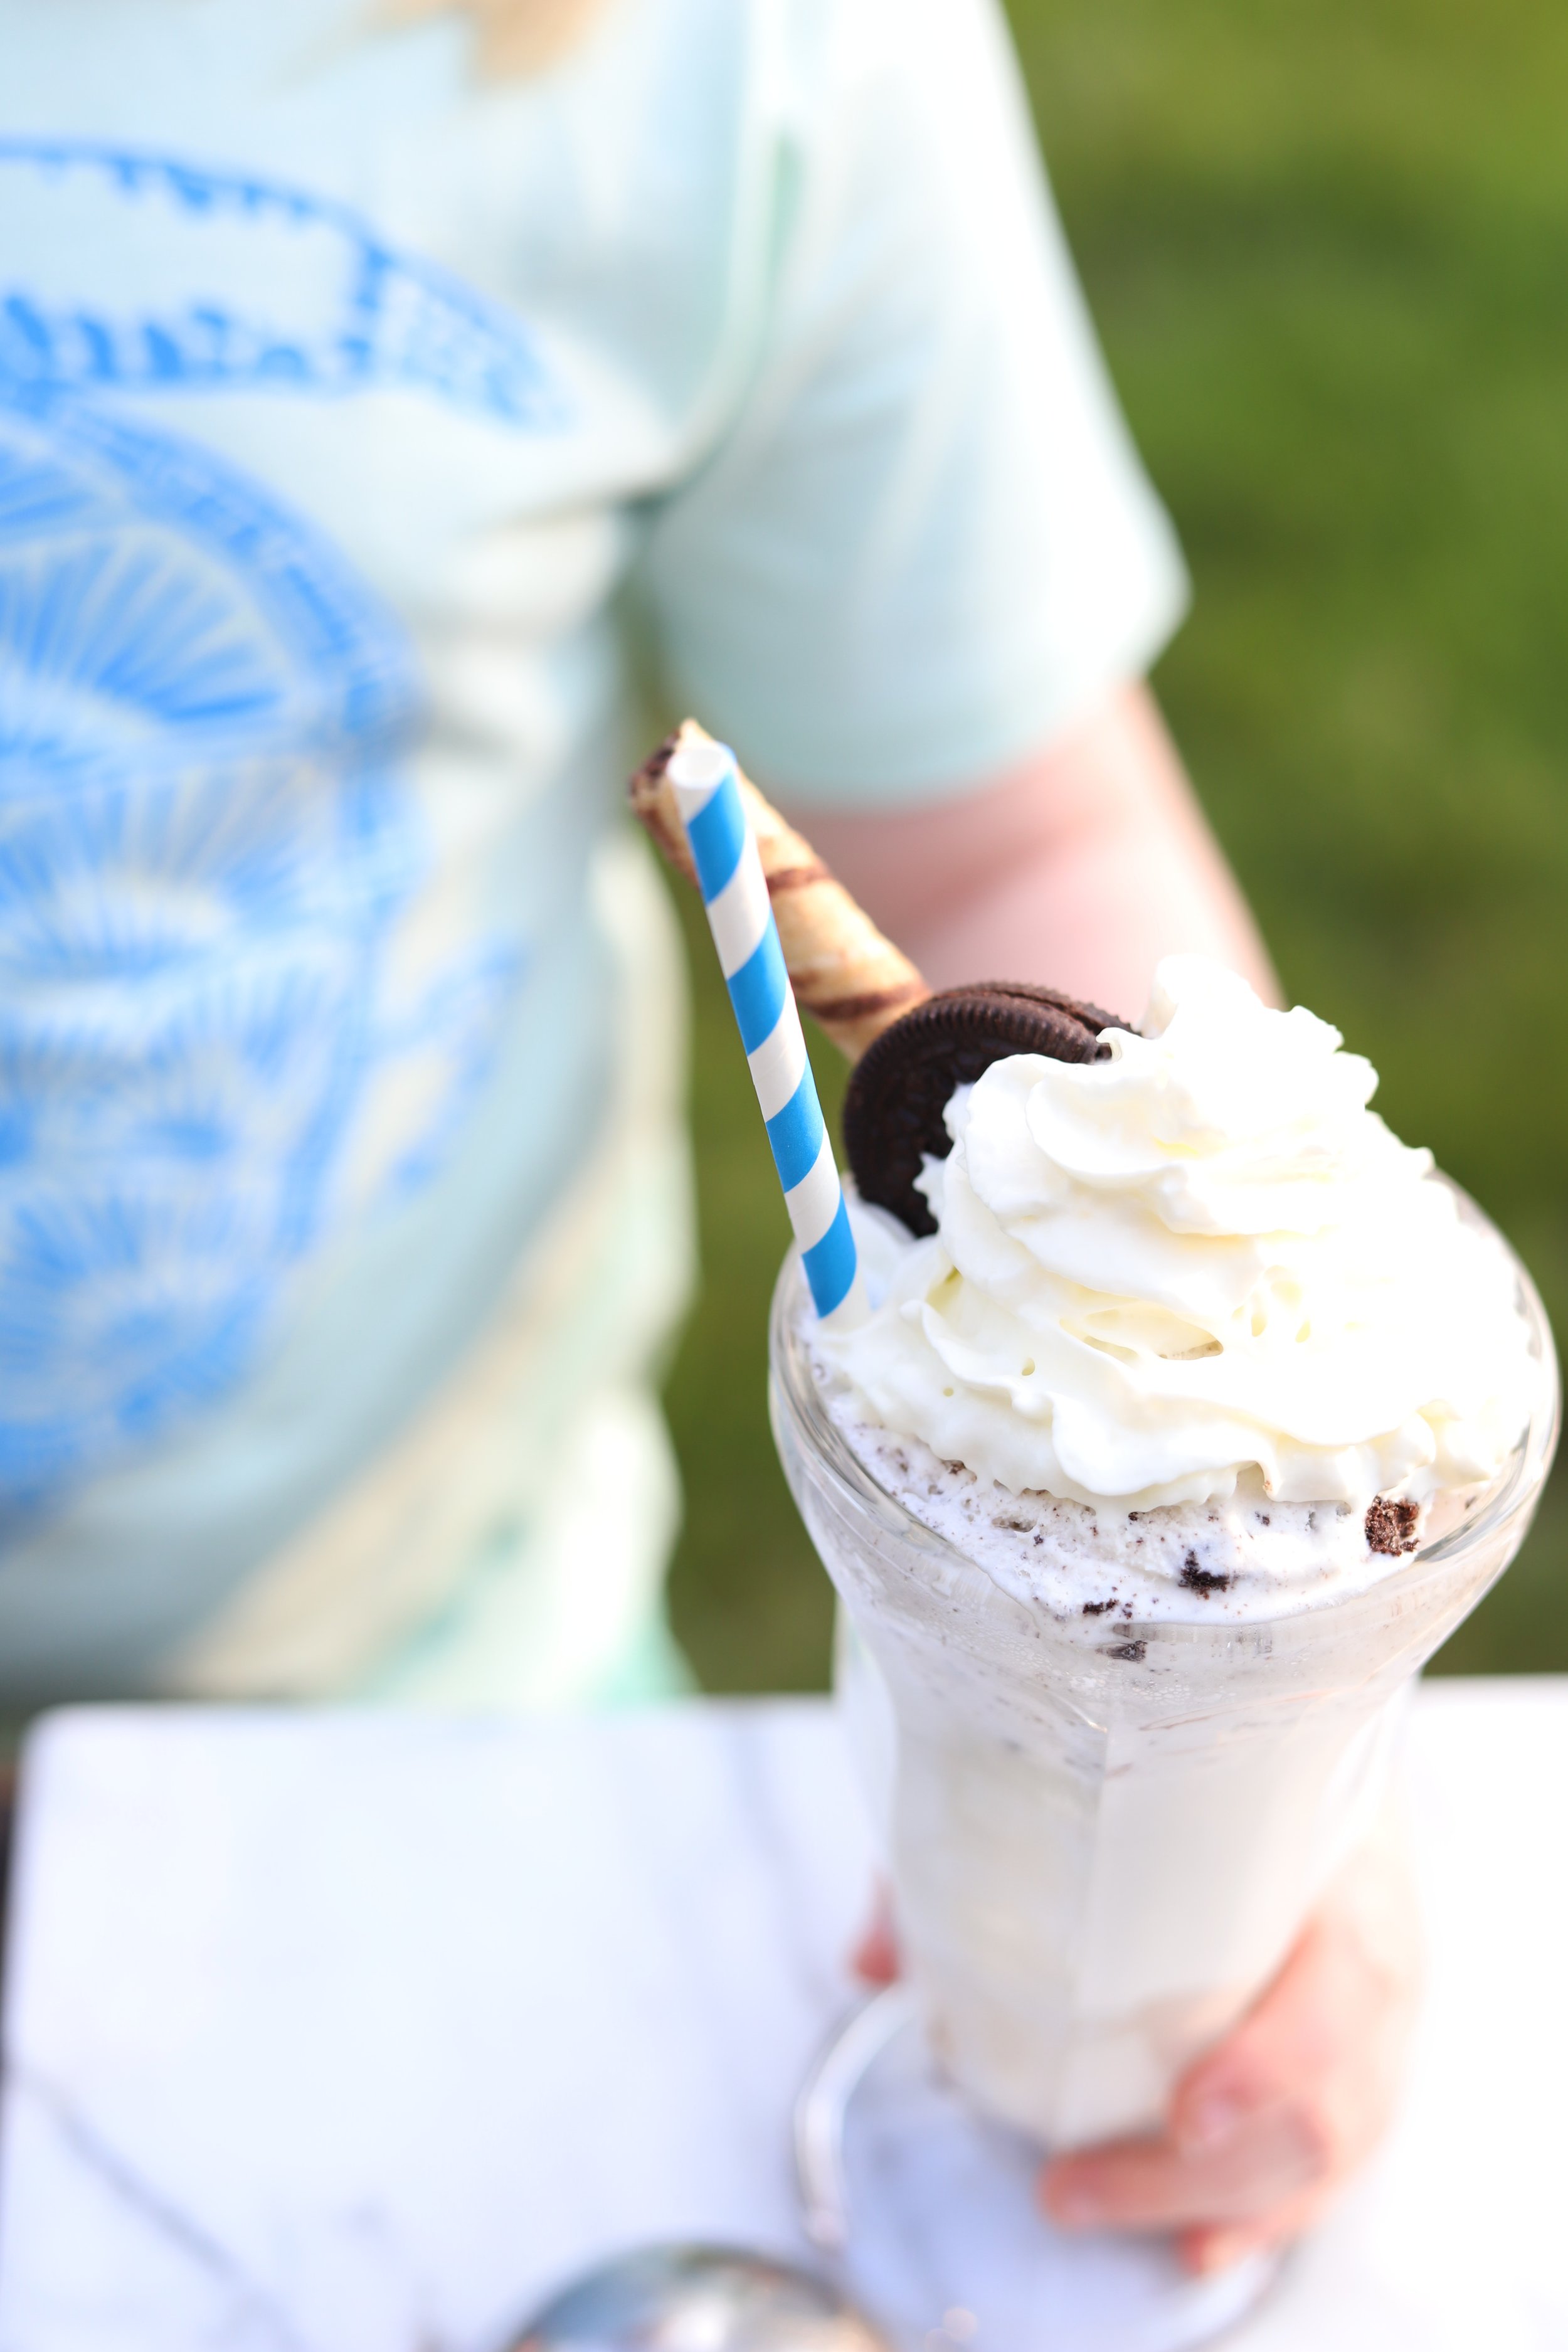
Our family hosted an ice cream social to celebrate the start of summer. I love summer, backyard entertaining, because it’s easy, casual and enjoyable. But an ice cream social, I discovered, is the easiest of all! It only requires friends and family, heaps of ice cream, and lawn games to have a very tasty and fun summer party.
INVITATIONS TO AN ICE CREAM SOCIAL
In keeping with the casual tone of an ice cream social, I opted to text or email invitations to friends and family. I had a sparkler picture from many summers ago, and I simply overlaid it with text detailing the pertinent party details and sent it out to everyone on our guest list via text or email. Phone call invitations would’ve been fine too, but I find that some form of actual invitation sets the tone for the party…in this case, one of a sparkling summer evening feel.
WHAT YOU NEED TO HOST AN ICE CREAM SOCIAL
Here is a thorough list of supplies you will need to host an ice cream social:
ice creams (We invited 30+ people and had eight different types of ice cream, but two cartons of vanilla. We ran out of a couple flavors, and had leftovers of many.)
cones (waffle cones, sugar cones)
ice cream cups and wooden spoons
syrups (caramel, chocolate) I opted to not use hot fudge, because it was an outdoor party, and there was no way to keep the hot fudge warm.
whipped cream
toppings: sprinkles of various types (These were very popular with the kids, and I love to keep kids happy at our parties!), chopped nuts, coconut, chocolate sprinkles, maraschino cherries
root beer
soda water (for making ice cream sodas)
two different sizes of plastic cups (for small or large floats or sodas, as well as for drinking water)
a big water dispenser filled with ice water
ice cream scoops
bottle opener
small cooler with ice (to keep root beer and soda chilled)
large cooler loaded with ice to keep the ice cream as chilled as possible
sparklers
lighter
lawn games
bug spray
outdoor lighting
decorations
flowers!
We did all the outside set-up early in the morning. And I used my kitchen table as a staging area for all the rest of the supplies. I unboxed all the cones, but sealed them up in bags to keep them fresh. This turned out to be a lifesaver when the party had just barely begun and it started to rain. Planning everything but the weather! (Thankfully, the rain only lasted about 10 minutes.)
SOURCES FOR ICE CREAM SOCIAL SUPPLIES:
We made our own, full-size waffle cones. We bought the sugar cones at the local grocery store. And the mini-cones (so perfect for the really little kids, or adults who just want a bite) were ordered online from Creative Gourmand. The Paper Ice Cream Cups with Wooden Spoons came from my shop. And all the Paper Straws came from my shop, too.
SET UP AND TIMING FOR AN ICE CREAM SOCIAL
First thing in the morning, we set up all the larger outdoor items: Adirondack chairs around the fire pit, outdoor lighting, corn hole game, table and bench, serving table, and trash can. My husband chopped firewood and got the fire laid for party time.
This is not the sort of party where everyone needs a chair, so it’s unnecessary to have a seat for everyone. Some people will spend all their time playing corn hole. Others will sit by the fire. People take turns at the table. But most people mingle and chat. And the kids run wild everywhere!
A serving table, and at least one other person to help you serve ice cream, is essential. I found that posting a chalkboard (at the beginning of the serving table) with options worked like magic in helping everyone to move through the serving line with ease.
Then, about 30 minutes before party time, we started to move all the small things out from the kitchen staging area. And the very last thing to go out, just as guests were arriving, was the ice cream in a large cooler. Expect it to keep the ice cream frozen for about 30 minutes. So, this is a party where guests really do need to show up at, or close to, the start time, and everyone needs to get their ice cream right at the start of the party. We found that we had time to serve all our guests (and even serve second helpings) before the ice cream got too soft.
I hope this helps you create your own ice cream social summer party! Once the initial task of serving the ice cream is over, the host and hostess really are free to socialize the rest of the night, which I think makes it one of the easiest summer parties to host.
Click on images below for sources:
Green Metal Cooler available here.
White Paper Lanterns available here.
Paper Ice Cream Cups with Wooden Spoons available here.
Drinking Straws - Cape Cod Ice Cream Shop - Pack of 15 available here. Other colors available in the shop too.


